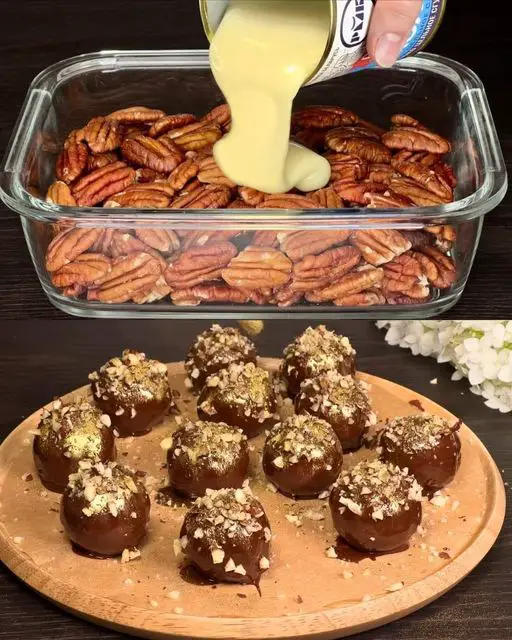
If you’re craving a rich and indulgent dessert without the need to turn on your oven, this No-Bake Chocolate Biscuit Cake is just what you need. Combining the smoothness of chocolate with the satisfying crunch of biscuits, this dessert is quick and easy to prepare, making it a perfect treat for any occasion. The glossy chocolate glaze adds a luxurious touch, while the simple ingredients keep things fuss-free.
Ingredients
For the Cake:
- Biscuits: 600g (digestive biscuits or graham crackers preferred)
- Sugar: 120g
- Cocoa powder: 60g
- Milk: 250ml
- Butter: 60g
- Vanilla extract: A pinch
For the Glaze:
- Dark chocolate: 100g
- Heavy cream (33% fat): 130ml
Directions
Step 1: Prepare the Cake Base
- Line the Pan:
Start by lining a round cake pan or a rectangular baking dish with parchment paper or plastic wrap. Make sure there is overhang on the sides, as this will help in easily removing the cake after it sets. - Crush the Biscuits:
Break the biscuits into small pieces. You can either place them in a plastic bag and crush them with a rolling pin or use a food processor to achieve coarse crumbs. The pieces should be small but not too fine.
Step 2: Make the Chocolate Mixture
- Heat the Ingredients:
In a saucepan, add sugar, cocoa powder, milk, and butter. Place the saucepan over medium heat and stir the ingredients together. Keep stirring until the mixture becomes smooth, and the butter fully melts. - Add Vanilla Extract:
Once the mixture is smooth, remove it from the heat and add a pinch of vanilla extract for flavor. Stir it in until fully combined.
Step 3: Combine and Press
- Combine the Mixtures:
Pour the crushed biscuits into the chocolate mixture and stir until all the biscuit pieces are well coated with the chocolate sauce. Make sure there are no dry pieces remaining. - Press the Mixture into the Pan:
Transfer the mixture into the prepared cake pan or baking dish. Use the back of a spoon or a spatula to press the mixture down firmly and evenly. This helps the biscuits adhere together to form a solid base for the cake.
Step 4: Prepare the Glaze
- Melt the Chocolate:
Chop the dark chocolate into small pieces and place it in a heatproof bowl. Heat the heavy cream in a small saucepan over medium heat until it begins to boil. - Combine the Chocolate and Cream:
Once the cream reaches a boil, pour it over the chopped chocolate. Let it sit for a minute to soften, then stir the mixture until smooth and glossy.
Step 5: Spread the Glaze
- Glaze the Cake:
Pour the smooth chocolate glaze over the top of the pressed biscuit base. Use a spatula to spread it evenly, ensuring the entire surface is covered with a shiny chocolate layer.
Step 6: Chill and Serve
- Refrigerate the Cake:
Place the cake in the refrigerator and let it chill for at least 4 hours, or until it has set and is firm enough to cut into slices. - Serve:
Once the cake is fully chilled, lift it out of the pan using the parchment paper overhang. Slice it into squares or wedges and serve while chilled for the best texture.
Cooking Tips
- Use High-Quality Chocolate:
For the glaze, the quality of the chocolate will significantly impact the final flavor. Use a good-quality dark chocolate with a cocoa content of at least 70% for a rich, smooth finish. - Crush Biscuits Evenly:
Ensure the biscuits are crushed into even-sized pieces. Too small and they may absorb the chocolate mixture too quickly, making it harder to set the cake. - Let It Set Properly:
Be patient and allow the cake to chill for the full 4 hours. This ensures that the layers hold together and the texture is perfect for slicing.
Substitutions and Variations
- Different Biscuits:
While digestive biscuits or graham crackers are commonly used, you can experiment with other biscuit types such as shortbread or tea biscuits for different textures and flavors. - Dairy-Free Version:
For a dairy-free alternative, use plant-based butter and swap the heavy cream with coconut cream or almond milk. Choose dairy-free chocolate for the glaze. - Add Nuts or Dried Fruit:
Add some chopped nuts such as almonds, hazelnuts, or walnuts into the biscuit mixture for an extra crunch. Dried fruit like raisins or cranberries can also add a touch of sweetness.
FAQs
Can I use milk chocolate for the glaze?
Yes, you can use milk chocolate if you prefer a sweeter, creamier glaze. Just note that it will have a different flavor profile and a slightly less intense chocolate taste.
How do I store leftovers?
Store the cake in an airtight container in the refrigerator for up to 5 days. Make sure it’s well covered to avoid it absorbing any unwanted odors from the fridge.
Can I freeze this cake?
Yes, you can freeze this cake. Wrap it tightly in plastic wrap and place it in a freezer-safe container. It will keep for up to 3 months. To serve, thaw it in the refrigerator overnight.
Nutritional Information (Per Serving, Based on 8 Servings)
- Calories: 350 kcal
- Protein: 5 g
- Carbohydrates: 40 g
- Fat: 20 g
- Sugar: 25 g
- Fiber: 2 g
- Sodium: 40 mg
Conclusion
This No-Bake Chocolate Biscuit Cake offers an easy and delicious way to satisfy your chocolate cravings without any baking required. With its rich chocolate flavor, crunchy biscuit base, and smooth chocolate glaze, this cake is sure to become a go-to dessert for busy days or impromptu gatherings. Whether you’re serving it to guests or indulging in a quiet treat at home, it’s a simple yet indulgent option that everyone will love.
