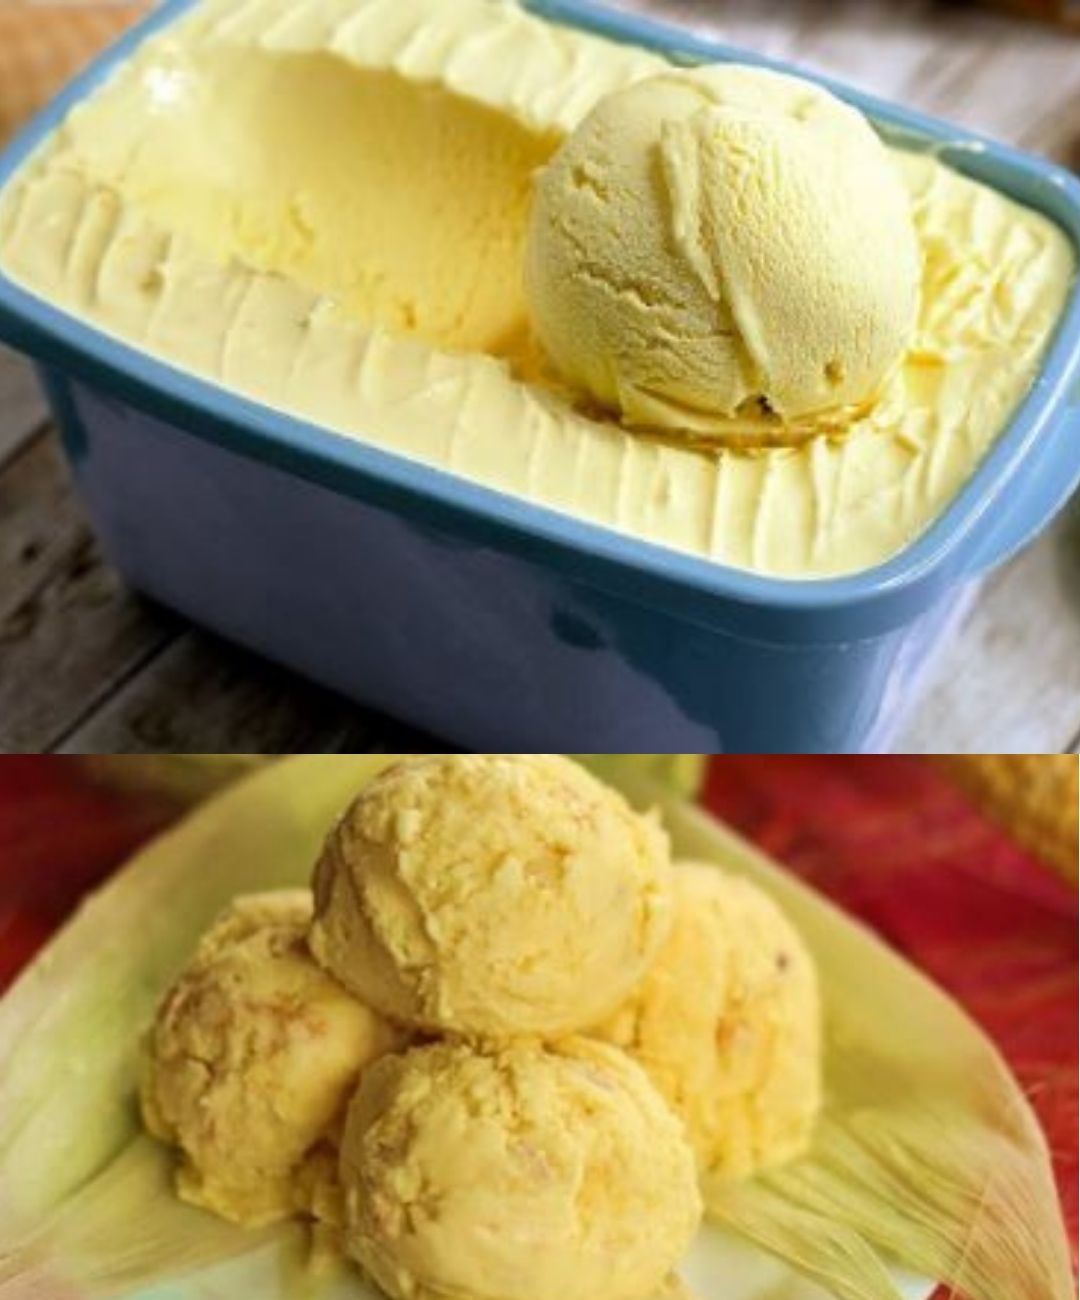
Ice cream is a beloved dessert that brings joy to people of all ages. But what if you could enjoy a creamy, sweet treat made with a unique twist? Enter homemade corn ice cream—a delightful and easy dairy-free alternative that’s perfect for summer days or any time you crave a refreshing dessert. Made with simple ingredients, this corn ice cream recipe is sure to impress your family and friends with its unexpected flavor and creamy texture.
In this article, we’ll walk you through the step-by-step process of making homemade corn ice cream, complete with tips, variations, and answers to common questions. So grab your apron, and let’s get started on this delicious journey!
Why Corn Ice Cream?
Corn ice cream may sound unusual, but its sweet and creamy flavor will surprise you. Corn is naturally sweet, and when blended into a smooth mixture, it adds a unique taste that complements the creamy base. This ice cream is not only a great way to use fresh corn, but it also caters to those looking for a dairy-free dessert option.
Let’s dive into the ingredients and method so you can create your very own homemade corn ice cream.
Ingredients
Before we begin, here’s a list of the ingredients you’ll need to make this delightful corn ice cream:
Main Ingredients
- 1 ear of corn: Fresh corn will give the best flavor and texture.
- 395 grams (14 oz) sweetened condensed milk: This adds sweetness and creaminess to the ice cream.
- 200 grams (7.05 oz) heavy cream: Adds richness and a creamy texture.
- 1 teaspoon margarine: Enhances the flavor and helps with the creaminess.
Instructions
Step 1: Preparing the Corn
- Cook the Corn: Start by cooking the ear of corn. You can either boil it in water for about 5-7 minutes or grill it for a slightly smoky flavor. Avoid adding salt, as it can alter the sweetness of the corn.
- Remove the Kernels: Once the corn is cooked and cooled, carefully cut the kernels off the cob using a sharp knife. Make sure to collect all the kernels in a bowl for blending.
Step 2: Blending the Mixture
- Blend the Ingredients: In a blender, combine the fresh corn kernels, sweetened condensed milk, heavy cream, and margarine. Blend on high until the mixture is smooth and creamy, which should take about 3 to 4 minutes. This step is crucial for achieving a silky texture.
Step 3: Freezing the Ice Cream
- Initial Freeze: Pour the blended mixture into a glass dish or ice cream maker and place it in the freezer for about 3 hours. This initial freezing helps the mixture set.
- Whip the Mixture: After 3 hours, remove the mixture from the freezer. Using a mixer, beat the frozen mixture on high speed until it doubles in volume. This step incorporates air, making the ice cream light and fluffy.
- Final Freeze: Return the whipped mixture to the freezer for another 3 to 4 hours to firm up.
Step 4: Serve and Enjoy
- Serve: Once the ice cream is fully frozen and firm, it’s ready to be served. You can scoop it into bowls or cones, and feel free to add your favorite toppings, such as crushed nuts, chocolate syrup, or fresh fruit.
Tips for Perfect Corn Ice Cream
- Use Fresh Corn: For the best flavor, use fresh, sweet corn. If fresh corn is not available, you can use frozen corn, but make sure it’s well-thawed and drained.
- Experiment with Sweetness: Depending on your preference, you can adjust the amount of sweetened condensed milk. If you prefer a less sweet ice cream, start with 300 grams and taste before adding more.
- Add Flavor Variations: To give your corn ice cream a twist, consider adding flavors like vanilla extract, cinnamon, or even a hint of lime juice for a refreshing zest.
- Keep it Creamy: Be careful not to overmix the ice cream during the whipping stage. Just enough beating to incorporate air will result in the perfect creamy texture.
FAQs About Homemade Corn Ice Cream
Can I make this ice cream vegan?
Yes! To make a vegan version, substitute the heavy cream with coconut cream or a non-dairy heavy cream alternative. Ensure the sweetened condensed milk is also dairy-free.
How long does homemade corn ice cream last in the freezer?
Homemade corn ice cream can last in the freezer for about 2-3 weeks if stored in an airtight container. However, it’s best enjoyed within the first week for optimal freshness.
Can I use canned corn instead of fresh corn?
While fresh corn yields the best flavor, you can use canned corn in a pinch. Make sure to drain and rinse the corn thoroughly before blending.
What can I serve with corn ice cream?
Corn ice cream pairs beautifully with a variety of desserts. Try serving it alongside fruit pies, chocolate cakes, or even as a topping for warm brownies.
Is it necessary to whip the mixture after the first freeze?
Yes, whipping the mixture after the first freeze is essential. It introduces air into the ice cream, giving it a light and fluffy texture that is characteristic of homemade ice creams.
Conclusion
Making homemade corn ice cream is a delightful way to experiment with flavors and enjoy a refreshing dessert. Its creamy texture and unique taste will make it a standout treat at any gathering or a simple indulgence at home. With just a few ingredients and straightforward steps, you can create this unique ice cream that’s sure to impress.
So why not give it a try? Gather your ingredients, follow the steps outlined in this guide, and savor the deliciousness of homemade corn ice cream. Happy ice cream making!
