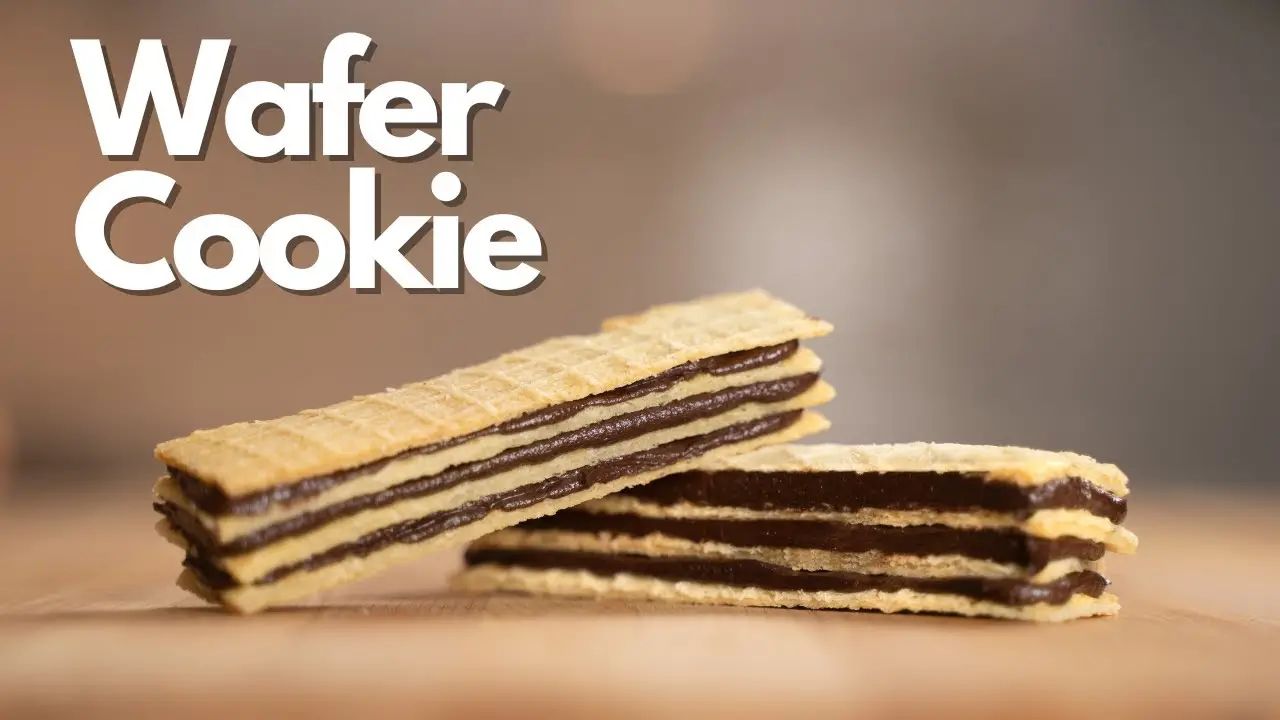
Do you remember the joy of biting into those crisp chocolate wafer cookies as a child? The delightful crunch combined with rich chocolate flavor can take anyone back to their childhood. With this recipe, you can recreate this nostalgic treat from scratch and enjoy the delightful experience all over again. Made with simple ingredients and a touch of love, these homemade chocolate wafer cookies are perfect for sharing or indulging yourself. Let’s dive into the rich and delicious world of chocolate wafers!
Ingredients
Wafer Batter
- 120g all-purpose flour
- 60g cornstarch
- 35g powdered sugar
- 1 1/2 tsp baking powder
- 2g salt
- 115g melted butter
- 160ml water
- 10ml vanilla extract
Chocolate Icing
- 55g butter, softened
- 125g powdered sugar
- 50g cocoa powder
- 30ml milk
Instructions
Step 1: Prepare the Wafer Batter
- Combine Dry Ingredients: In a food processor, place the flour, cornstarch, powdered sugar, baking powder, and salt.
- Pulse: Blend the dry ingredients until well mixed.
- Add Wet Ingredients: Slowly pour in the melted butter, water, and vanilla extract while the processor is running.
- Blend Until Smooth: Continue to process until the mixture is homogeneous and smooth.
Step 2: Baking the Wafers
- Preheat Waffle Cone Machine: Turn on your waffle cone machine to preheat.
- Bake the Batter: Place a spoonful of batter onto the waffle cone machine and bake for about 2 minutes.
- Remove and Cut: Once baked, carefully remove the wafer and cut it into a rectangle shape.
- Repeat: Bake another batch, using the first rectangle as a template to cut the next ones.
- Prepare for Oven: Place the rectangles on a baking sheet, stacking another rectangle on top to prevent curling.
- Final Bake: Bake in a preheated oven at 300°F (150°C) for about 10 minutes until crisp.
- Cool: Remove the wafers from the oven and let them cool completely.
Step 3: Make the Chocolate Icing & Assemble
- Cream Ingredients: In a mixing bowl, cream together the softened butter, powdered sugar, and cocoa powder until smooth.
- Add Milk: Gradually add the milk, mixing until you achieve the desired icing consistency. Adjust with more milk or sugar as needed.
- Layer the Wafers: Select four wafers of similar size. Spread a thin layer of icing on the first wafer.
- Stack Layers: Place another wafer on top and gently press down. Repeat until all four layers are stacked with icing in between.
- Chill to Set: Place the assembled cookies in the fridge until the icing hardens, about 30 minutes.
Tips for Success
- Uniform Size: Make sure to cut your wafers to a consistent size for even layering.
- Adjusting Icing: If the icing is too thick, add a little more milk. If it’s too runny, add a bit more powdered sugar.
- Storage: Keep your chocolate wafer cookies in an airtight container in the refrigerator to maintain their crispiness.
Serving Suggestions
Enjoy these delicious chocolate wafer cookies on their own, or pair them with a scoop of vanilla ice cream for a delightful dessert experience. They also make for a wonderful addition to cookie platters or as a treat for gatherings.
FAQs
1. Can I use different flavors of icing?
Yes! Feel free to experiment with different flavors of icing, such as peanut butter or vanilla, to customize your wafers.
2. What can I do if the wafers are too soft?
Ensure you bake them long enough in the oven. They should be crisp and dry before cooling down.
3. How long will the cookies last?
Stored in an airtight container in the refrigerator, these cookies can last up to a week.
4. Can I freeze these cookies?
Yes, you can freeze the assembled cookies. Just make sure they are wrapped tightly to prevent freezer burn.
5. What can I use instead of cornstarch?
If you don’t have cornstarch, you can substitute with an equal amount of all-purpose flour, but the texture may be slightly different.
With this detailed guide, you can easily recreate these delightful chocolate wafer cookies at home and enjoy a taste of your childhood!
